|
||||

|
||||

|
||||

|
||||
 About Me Affiliates Contact Credits Disclaimer FAQs Guestbook Guest Map History Hosting Link Me My Awards Newsletter Past Contests Privacy Policy Siblings Submission Policy Updates  Clow Cards Costumes Episode List Glossary Incantations Key Places Magical Items Nakuru's Interruptions Name Twists Naoko's Stories Official Links Production Staff Profiles Relationships School Uniforms Sketches Star Cards Storyline Touya's Jobs Voice Actors Yamazaki's Lies  Awards For You CCSTMW Cosplay Fanart Fanfiction Fanlistings Forum Learn Japanese Legacy Sites Merchandise Music Videos  Animated Gifs Ask Clow Reed Birthdays Blood Types Bloopers Coloring Pages Design a Card Flora and Fauna Fortune Telling Kero's Pudding Look-Alikes Love Test Picture Guessing Polls POTM Quizzes Tag-board Tic Tac Toe |
 Fanstuff /Cosplay/My Cosplay/
For as long as I can remember, I have always wanted to cosplay an outfit from Cardcaptor Sakura. I have been telling myself for years that I was going to do it, but I never really got around to it. I guess I never got around to it because I have no idea what I am doing, and I've never pushed myself enough to go through with it. However, despite my lack of knowledge and confidence, I finally managed to cosplay Sakura for Halloween this year (2014)! To get started with this cosplay, I looked at every Cardcaptor Sakura photo that I have on my computer (there has to be at least 1000...) and picked out the outfit that I thought was the easiest. So, after viewing nearly every photo of Sakura that I have, I decided on this outfit from a manga image of her. There is no name for this outfit, so I came up with my own name for it... "Dapper Rabbit" is the best I've got! Anyway, I thought that this would be an easy cosplay because everything could be store bought, and the only thing I would have to customize would be the ribbon around her neck. It ended up being more work than I expected, but it wasn't bad at all! Below, I will give you details about all of the items I bought, how I modified them, and how much everything cost. I hope you'll enjoy this entry! Materials
Award Ribbon by Amscan from Amazon.com Customizing
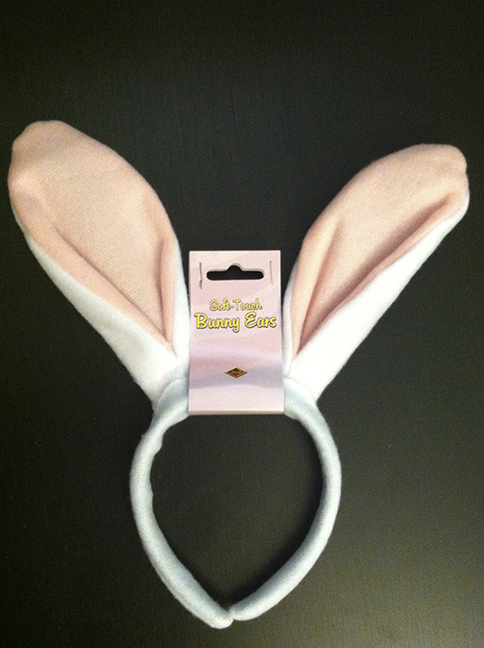
Soft-Touch Bunny Ears by Beistle Co.
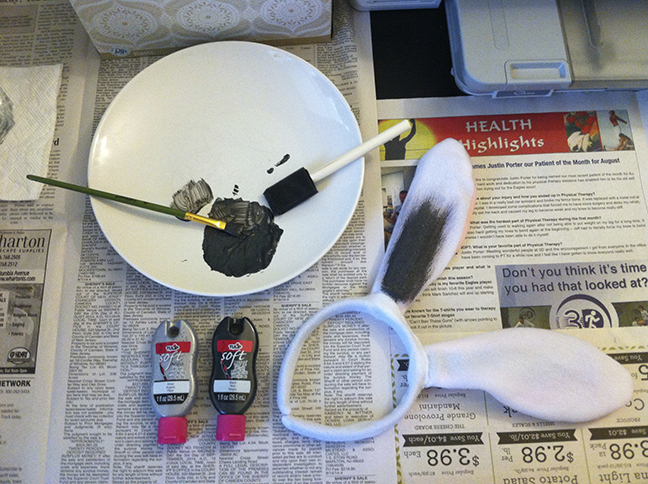
I thought I would be able to find a pair of bunny ears that were gray and pink, but unfortunately, that wasn't the case. When I found out I couldn't get the colors I needed, I decided to go with a pair of white bunny ears that I would be able to paint. So, I picked these ears because they weren't furry (which would make them harder to paint) and because they have some dimension to them like the ones Sakura has. I started by mixing my black and silver fabric paint. Then, I painted the back side of one ear, waited for it to try, and painted the front side of the same ear. I did the same thing for the other bunny ear. Using a sponge brush for the project worked better than a regular paint brush because it got deep into the fabric. However, the sponge brush was only good for large areas as it is clunky in shape. I used both paint brushes to paint the edges of the ears. Using the sponge brush also caused some of the cotton to get fuzzy and come off of the ears. Originally, I painted only the ears and not the headband part; however, after trying the ears on with my wig, I realized that it would be better for me to paint the headband because the ears didn't look like they were coming from my head. (They just kind of looked like they were floating there.) So, after making this decision, I went back to the craft store and bought gold acrylic paint. I took a sample of hair from the wig with me so that I could find the best matching color possible. Using the black and silver fabric paint mixture, I extended the length of the ears by painting the headband. Then, I painted the rest of the areas gold so that the headband would blend in with the wig. Black and White Oxford Shoes by Ollio
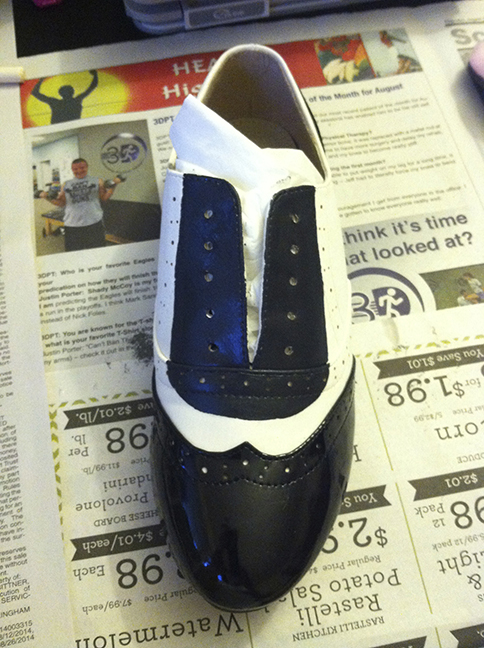
It took me awhile to decide on which pair of black and white Oxford shoes I was going to buy for this costume. Believe it or not, there are actually quite a lot of different styles when it comes to this simple design (or so I thought). The brand I originally wanted to go with had my size, but they encouraged buyers to select one size up because they run small, but they didn't have the next size up. The next challenge was finding a pair of FLAT shoes. I encountered a lot of heeled versions while I was browsing the internet, and when I did find a pair of flat shoes, they weren't even close to my size! I also ended up finding a lot of styles that were the exact opposite of what I needed. (The heels where white, the middles were black, and the laces were white.) Finally, after giving up on eBay, I found my pair of shoes on Amazon, and they were almost exactly what I needed! I only had to do a little bit of customizing. I customized these shoes by painting the tops of them black. It was really simple to do. First, I removed the laces from the shoes. Then, I took a 4B gray pencil and lightly drew an outline of the shape that I needed to be on the tops of the shoes. After that, I covered the tongues with tissues and used a small paint brush with black fabric paint to trace the pencil outlines I drew. I used a bigger brush to paint the rest of the area. Later on, I ended up going back with the small brush to paint the insides of all of the shoelace holes and the decorative holes used in the design of the shoe. Sakura Wig
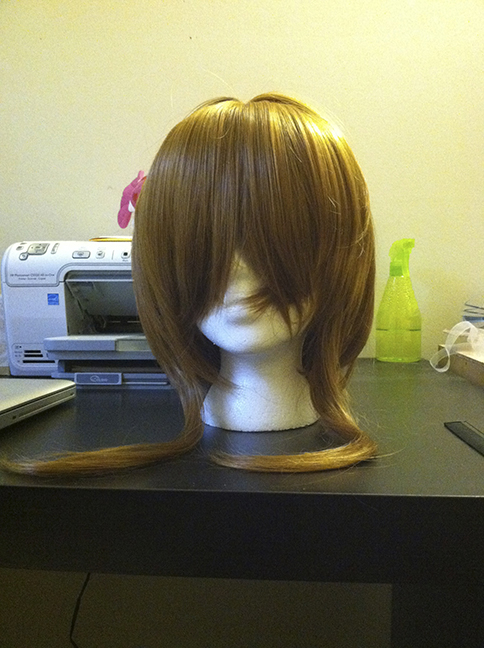
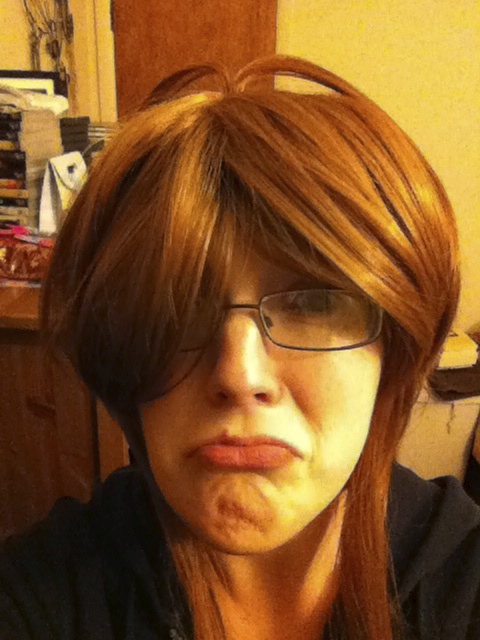
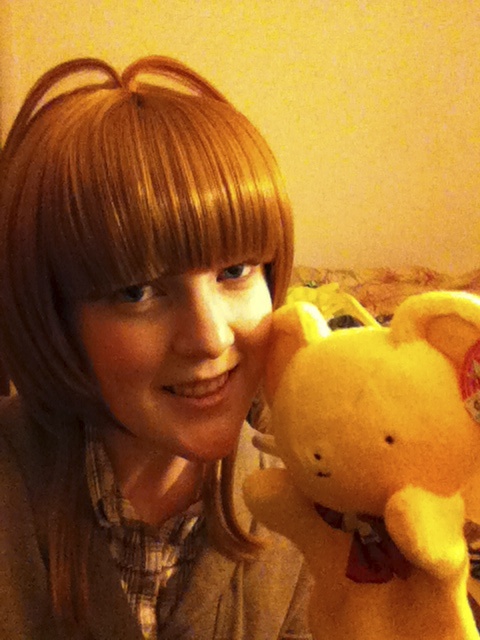
There actually weren't a lot of options to choose from when it came to buying a wig with Sakura's hairstyle. Most of the seller's used the same reference picture, and the ones with different pictures I didn't like because they were either too long or they had pigtails which Sakura does not have in this costume. The wig was one of the items that I didn't really plan on customizing. Now, don't get me wrong, I knew the wig wasn't going to look exactly like the picture, but this was quite different in terms of length! I mean, the wig didn't have any bangs at all! The front was practically just as long as the rest of the wig! On top of that, the two pieces that hang down in the front were too long as well, but that was an easy fix. I have a pair of professional scissors, but they were no match for this wig. I ended up using meat scissors to cut a lot of the length off because I was trying to cut an inch off at a time. After I got them to the length I needed, I used the professional scissors to even out the bangs. Award Ribbon by Amscan
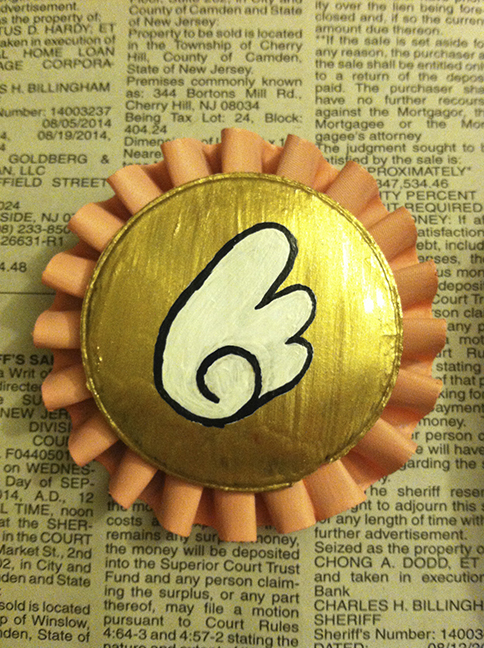
The part that was the most challenging about buying an award ribbon was finding one that had a big enough center. A lot of the ribbons I found were large in diameter but lacked a large center, and I really wanted to find one that looked the most similar to the one that Sakura wears. I started by searching for pink award ribbons, but a lot of them weren't the proportion I wanted, and when I did find one that I liked, it wasn't in stock. So, then I just started looking for award ribbons in any color. The first thing I did when I got the award ribbon was cut off the extra part of the ribbon that hangs down. After that, I separated the middle from the base which was easy to do because it was only attached using glue. Then, I mixed my pink (Melon) acrylic paint with my white fabric paint and began to paint the ribbon. Since the ribbon was black, it took a couple of coats before it started to actually look pink. Even now, the top of the ribbon looks pink, but parts of the inside (which was difficult to paint) have some black showing through. You can only tell when you look up close, though. Next, I used my gold fabric paint to paint the middle part of the ribbon. This was a bit challenging since the middle part is made of plastic. The first couple of times I tried to paint it, the paint wouldn't stay on. I got the paint to stay by gently brushing thick globs onto it. Once the first coat dried, I put on a second coat and probably a third (I'm not exactly sure). After that was all said and done, I used the white fabric paint with a small brush to freehand the wing design. When I was satisfied with the overall shape, I used the black fabric paint to outline the wing, and I filled in the wing with another coat of white paint. Finally, after everything was done drying, I used my no-sew fabric glue to reattach the middle part to the ribbon. I'm not sure if this was the best thing to do, but I couldn't any other type of glue in my house! Pink Bow Tie by Captomato
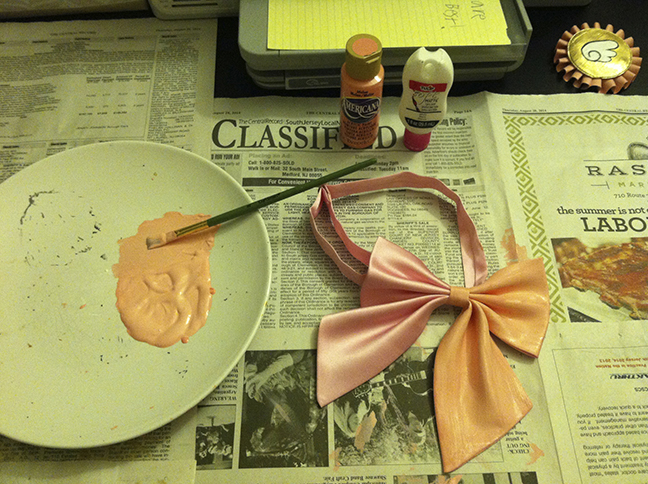
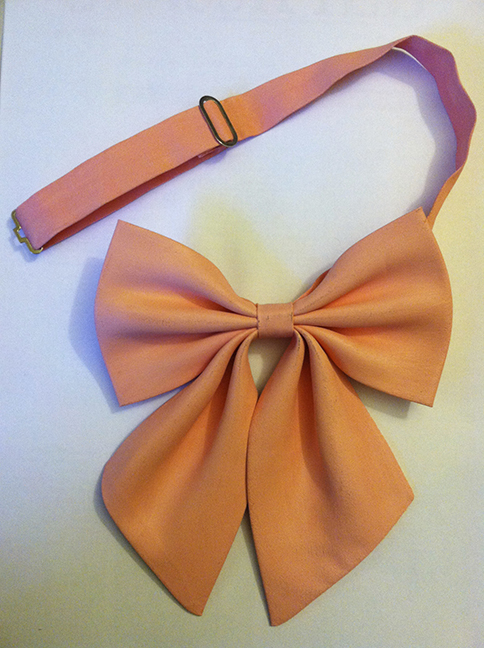
Believe it or not, there wasn't a wide selection when it came to buying a pink bow tie. I was lucky to find this one though because I think it is exactly the size I needed! The shade of pink wasn't the exact color I wanted, so I mixed my pink (Melon) acrylic paint with the white fabric paint (like I did with the award ribbon) and I painted the entire thing. The first time I painted the front side, it was a little too dark, so I added more white to the paint and did it again. I didn't paint the inside of the ribbon because it is already pink, and you can't really see the difference since the ribbon is on the flat side. After painting both the award ribbon and pink bow tie, I put them together to make the one that Sakura is wearing in the picture. Originally, I bought the no-sew fabric glue so I would be able to attach them, but to my surprise, the award ribbon came with a pin on the back of it, so I didn't need the glue. I just used the pin to join them together instead. Costs
The costume ended up costing more money than I thought. This cosplay may be cheaper for you if you already have paint, brushes, mannequin head, etc., but unfortunately, I didn't. It also may be cheaper for you if you know how to make your own accessories (ribbon, bow, bunny ears, etc.). For me, since I've never cosplayed before, it was just easier for me to spend the money to buy these things because I have no clue how to make them! Even though this costume cost more than I expected, it was still fun to do, and I am happy with the way it turned out. =) Award Ribbon - $7.41 Gallery
|
 American Anime Comics Art Books Bilingual Chapter Comics CLAMP Clear Card Arc Collector's Edition Honorifics International Master of the Clow Nakayoshi 60th Anniversary Edition New Edition Omnibus Original Other Books Overview Variations  Audio Clips Blu-ray CDs DVDs Fonts Gallery iPod CCS LaserDiscs Lyrics Magazines Midis VHSs Video Clips Video Games  Terms of Use Adoptables Avatars Backgrounds Banners Blinkies Hiatus Signs Layouts PNGs Splashes Wallpapers |
||